Enemies
|
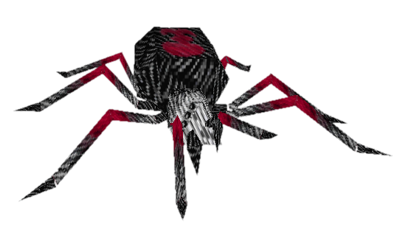
Small Spider
An easy enemy to eradicate, even with pistols. These little critters like to gang up on Lara and jump at her but a few shots with the pistols will take care of them. But beware, you will see these spiders again in the Spider cave in the Temple of Xian. FIRST APPEARANCE: The Great Wall |
|
Crow
Crows are not a threat to Lara's health bar but they can be difficult to target as they circle high above Lara. You will almost always hear them squawk before you see them. As they feature at the beginning of the level at the beginning of the game, you have the choice of only two weapons (unless you are playing a new game after a completion run): a shotgun or the pistols. The pistols will do well here. FIRST APPEARANCE: The Great Wall |
|
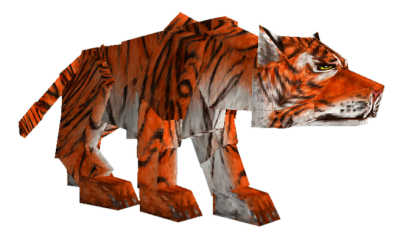
Tiger
The tiger is the very first enemy that you will see in the game. They are an easy enemy however they can take a nasty swipe at Lara if she's unlucky. They are more dangerous when in pairs. FIRST APPEARANCE: The Great Wall |
|
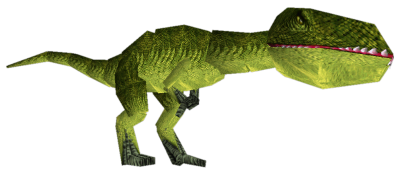
T-Rex
Included either as an easter egg to the previous game or maybe Lara had discovered a rare sighting of a T-Rex in China. There are only two in the game, both in the same location: one guards the Gold dragon secret whilst the other tries to prevent Lara from leaving with it. Acts and attacks much like the Tomb Raider T-rex. FIRST APPEARANCE: The Great Wall |
|
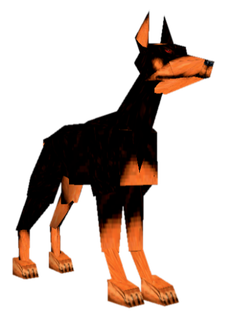
Doberman
Often paired with an owner, the Doberman has been trained to attack strangers. They will jump at Lara and try to bite her. FIRST APPEARANCE: Venice |
|
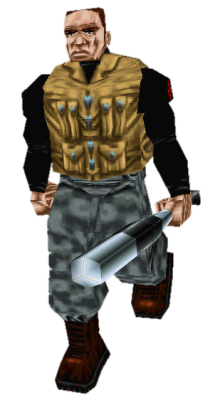
Venetian Thug 1
Not as threatening as his other friends in Venice. Stay back and deal with him or use the tactic that will work with many human enemies: keep jumping over them, not giving them a chance to attack you. FIRST APPEARANCE: Venice |
|
|
|
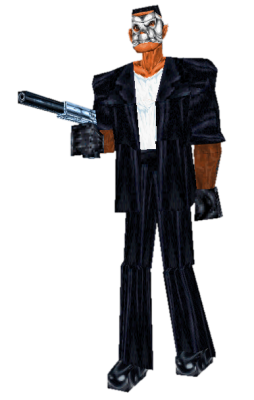
Venetian Gunmen
The guys with guns pose a real threat. They are very good at picking off Lara from a distance and rarely miss, so a first time player might just struggle in these levels. Don't use pistols on these enemies, unless you really want to. If you were good in collecting all the secrets in the level 'The Great Wall', you can use the Grenade Gun and take them out with one grenade. Jumping side to side helps to dodge some of his attacks. FIRST APPEARANCE: Venice |
|
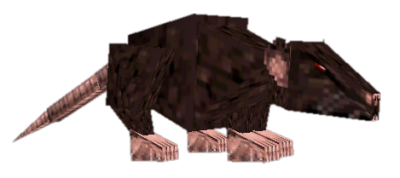
Rat
A few shots from Lara's pistols will take care of a rat, even less with the automatic pistols, if you are happy to use other guns on these tiny enemies. FIRST APPEARANCE: Venice |

|
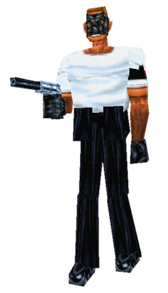
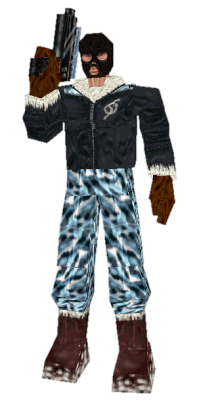
Hideout Thug
Very similar to the mercs with baseball bats and wrenches, these guys try to get up close and personal with Lara, meaning that if you keep your distance to them, they cannot attack and leave themselves vulnerable. FIRST APPEARANCE: Bartoli's Hideout |
|
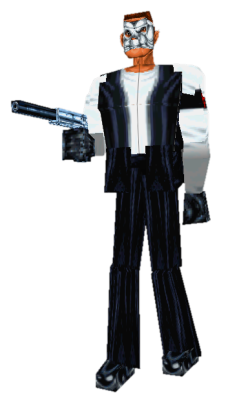
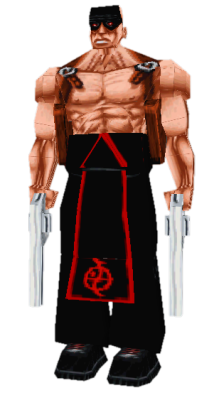
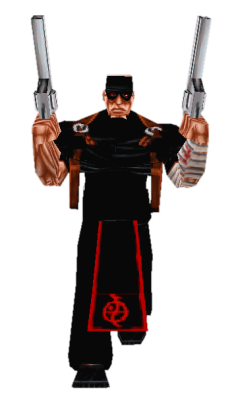
Colt
A very powerful enemy and one that you only want to meet if you have enough medipacks. Get out your most powerful weapon(s) and run around him in circles to prevent him from getting a lock on you. FIRST APPEARANCE: Opera House |

|
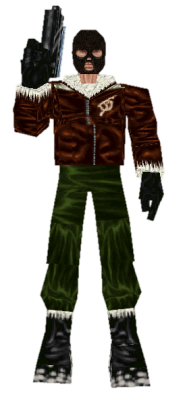
Rig Worker 1
Ouch, these guys can do some serious damage, especially when they catch you unaware! Try and get behind them and give them a taste of their own medicine with a shotgun. It will take two blasts. FIRST APPEARANCE: Offshore Rig |

|
Rig Worker 2
Much like the dude with the shotgun, you will want to get behind this rig worker and shoot. It seems that he needs to stand still to open fire at Lara. FIRST APPEARANCE: Offshore Rig |
|
Rig Worker 3
This guy is no different to the thugs with baseball bats; he causes damage in the same way: at close quarters. Use this to your advantage. FIRST APPEARANCE: Offshore Rig |
|
Scuba Diver
Thankfully Lara came packing with a harpoon gun... However, unless you are confident in using that gun, the best way to fight these is out of the water. FIRST APPEARANCE: Offshore Rig |
|
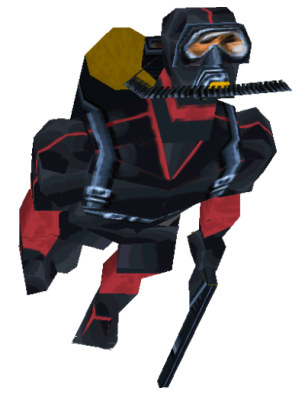
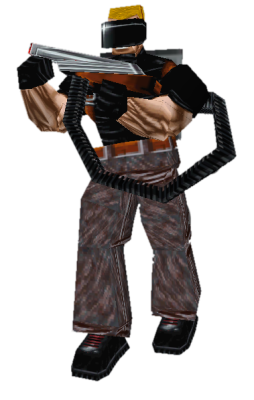
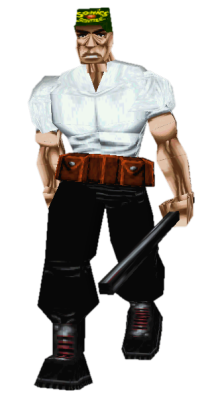
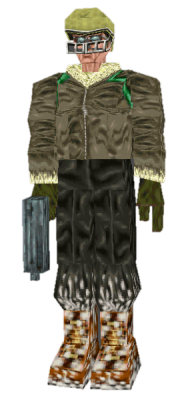
Flamethrower
A dangerous opponent as the flamethrower has a surprisingly long range and more often than not, there isn't a pool of water that is in a health bar's reach. Stay back, not that you need telling twice, pull out your fastest firing weapon(s), the Uzis or M16 and fill this bully with as much lead as possible. FIRST APPEARANCE: Diving Area |
|
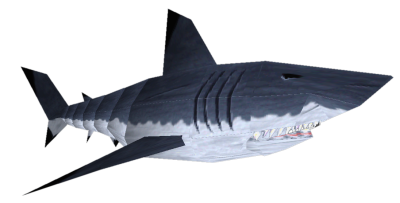
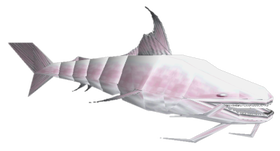
Shark
Easier to avoid than you may believe but they do have a powerful bite. You can use the harpoon gun to kill them but the best tactic may be to avoid confrontation with them. FIRST APPEARANCE: 40 Fathoms |
|
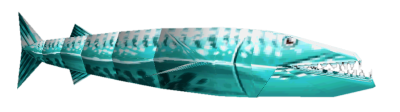
Barracuda
These little nippers can be rather irritating. If can you, stay near land, coax them out and then climb back up and take them out. FIRST APPEARANCE: 40 Fathoms |

|
Wreck Worker 1
These guys are only equipped with their wrenches and only become a threat in close quarters combat. FIRST APPEARANCE: 40 Fathoms |
|
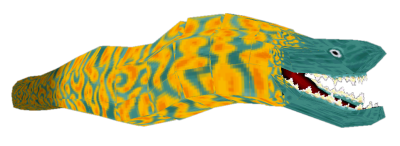
Moray Eel
Frightful creatures that lurch out of the darkness, biting Lara and dealing a heavy dose of damage. There are actually ways of avoiding them, by either swimming higher or lower than their 'lurch path'. There are two various coloured eels: a yellow/green eel and a black/yellow eel. They cannot be killed. FIRST APPEARANCE: Wreck of the Maria Doria |
|
Wreck Worker 2
These guys are only equipped with a bar and will only become a threat in close quarters combat. FIRST APPEARANCE: Living Quarters |
|
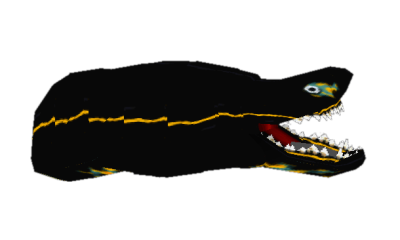
Black Moray Eel
Frightful creatures that lurch out of the darkness, biting Lara and dealing a heavy dose of damage. There are actually ways of avoiding them, by either swimming higher or lower than their 'lurch path'. There are two various coloured eels: a yellow/green eel and a black/yellow eel. They cannot be killed. FIRST APPEARANCE: Living Quarters |
|
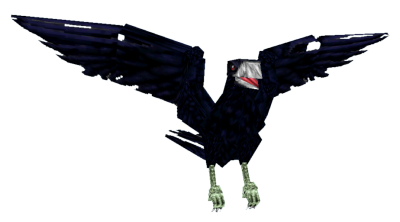
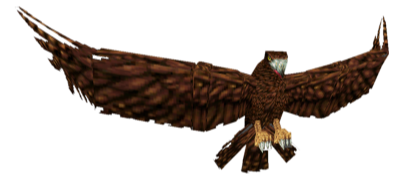
Eagle
Much like the crow, it can be difficult to get a lock onto these enemies but an eagle will try and swoop down to claw at Lara. Take this time to kill it. FIRST APPEARANCE: Tibetan Foothills |
|
|
Tibetan Thugs
These thugs will literally dissolve Lara's health bar if close enough. Try and break their line of sight by hiding behind walls or by jumping over them. FIRST APPEARANCE: Tibetan Foothills |
|
Snowmobile Guy
These are tough enemies to go up against. They are always sat upon a black snowmobile, which is different to Lara's red snowmobile as it has a mounted gun. Their vehicles move too fast for the grenade gun to be effective. If possible, use their own vehicles against them. FIRST APPEARANCE: Tibetan Foothills |
|
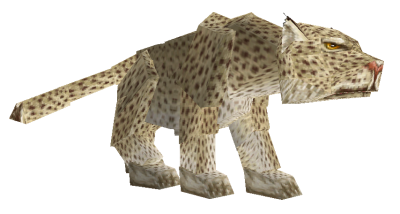
Snow Leopard
A snow leopard will charge at Lara and try to maul her. A single snow leopard might not seem a threat but they often hunt together, leaving Lara to decide which is closest. The M16 is one of the best weapons against them if you have the distance to take aim at them. FIRST APPEARANCE: Tibetan Foothills |

|
Monastery Thug
He acts and causes as much damage to other enemies with weapons. He sprays bullets in a horizontal motion. Interestingly though, this particular enemy cannot kill a monk. FIRST APPEARANCE: Barkhang Monastery |
|
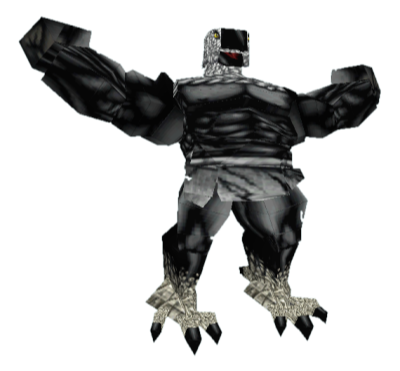
Yeti
Their appearance and their cries are more terrifying than they are threatening but they are still dangerous foes. They will swing their fists and try to pummel Lara to death. They can climb up onto ledges to chase you but you can use that time to take a few shots on them. The M16 or grenade gun will kill them quickly if they scare you. FIRST APPEARANCE: Catacombs of the Talion |
|
Catfish
Catfish act like barracudas; they will nip at Lara if she's in the water. They can be killed with the harpoon but it might be easier to avoid them. FIRST APPEARANCE: Catacombs of the Talion |
|
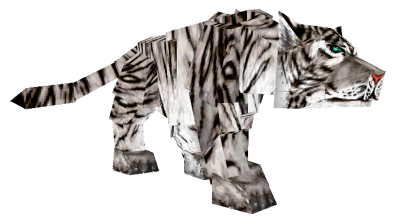
White Tiger
A rare sighting; the white tiger only features a handful of times in Ice Palace only. Acts and causes damage just like a standard tiger. FIRST APPEARANCE: Ice Palace |
|
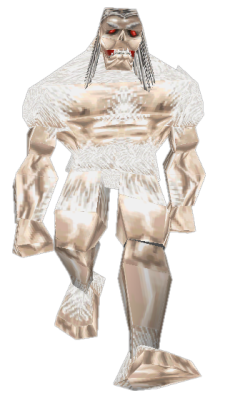
Guardian of the Talion
Based on the Buddhist/ Hindu mythical creature, the Garuda, the guardian is part human and part bird. he guards the Talion in the Ice Palace. He is awoken once the player has picked up the Talion. Dangerous with his fists, he will take painful swipes at Lara, even picking her up and shaking her against the ground until dead. There are a couple of spots however that work in Lara's favour, giving her the chance to kill the Guardian with little to no damage. ~ TIDBIT: One of the questions seen in the quiz on the 'Tomb Raider: The Angel of Darkness' official website gives this creature the name of 'the budgie' ~ FIRST APPEARANCE: Ice Palace |
|
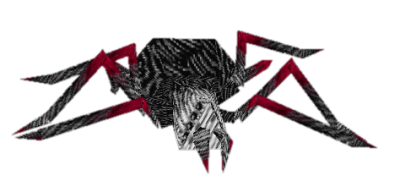
Giant Spider
Don't worry, these only appear in one section in only one level! Despite their scary appearance, these enemies are easy to defeat. Take out the uzis or automatic pistols to keep maneuverability or use the grenade gun, which only takes two shots. FIRST APPEARANCE: Temple of Xian |
|
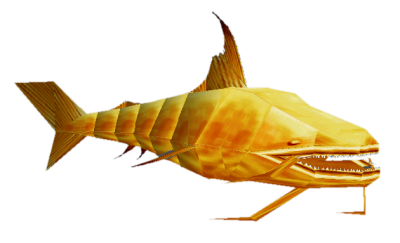
Gold Catfish
Gold catfishes act exactly the same as their standard counterparts. Not too much of a threat if you are able to stand on land and pick off these enemies, however there is one tricky room that not only has you avoiding one of these but also has you watching your breath meter very closely. Luckily, Lara comes equipped with a harpoon and three good shots will kill it. FIRST APPEARANCE: Temple of Xian |
|
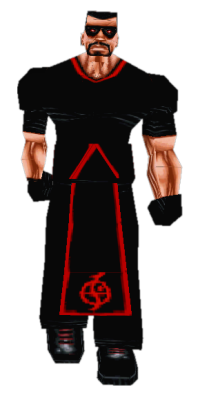
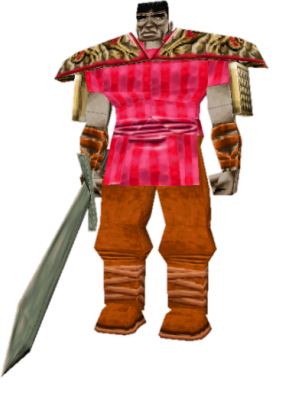
Fiamma Nera Cultist
Seen in his ceremonial robes, this goon uses throwing knifes to nip away at Lara's health. He throws two at a time and is very quick at doing so. Usually seen in groups of two or more (especially in the next level), they can become a real threat, however Lara is able to dodge some of the knives by using her sideways jumps FIRST APPEARANCE: Floating Islands |
|
|
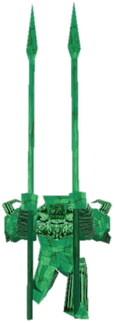
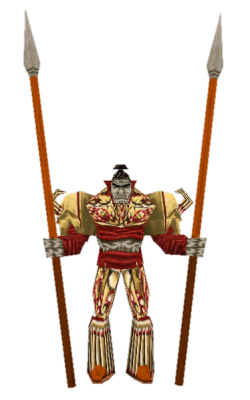
Statue Warrior 1
At some point in history, these warriors were changed to Jade to guard and protect the entrance to the Dragon's Lair. This one fights with two spears and is a lethal opponent, picking up and killing Lara even if she has just under half her life remaining. Stay well back and pick them off with the strongest guns you have. FIRST APPEARANCE: Floating Islands |
|
|
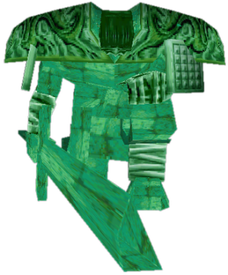
Statue Warrior 2
This warrior was also turned to Jade but comes to life to stop Lara from entering the Dragon's Lair. He has the ability to hover and glide towards Lara, which is a weakness that can be used against him. Use the M16 to pick him off before he has the chance to land. FIRST APPEARANCE: Floating Islands |
|
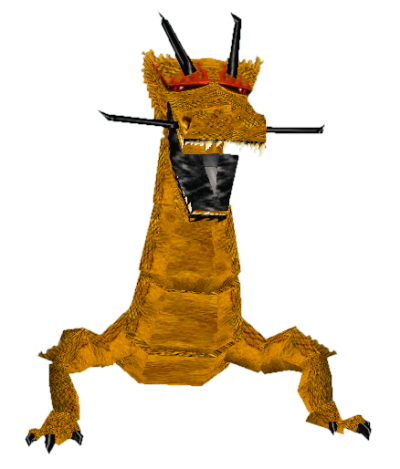
Dragon
Not entirely of it's own existence, it comes to being after a person has plunged the mystical artefact, the Dagger of Xian, into their heart. It breaths fire but has a slow and wide turning circle, which can be manipulated in the small arena of the Dragon's Lair. It can only be killed by removing the dagger from it's chest but by shooting it (a lot), you can stun him, giving you a short window to grab the dagger. The game recommends using the Uzis on him as there is plenty of ammo lying around. FIRST APPEARANCE: The Dragon's Lair |

|
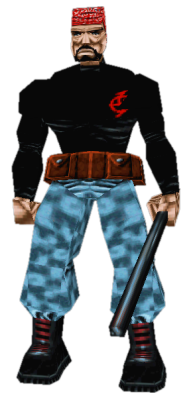
Fiamma Nera Goon 1
This guy is one of the remaining mercenaries of the Fiamma Nera but he is the least threatening of the level. A shotgun blast should kill him quickly, just stay away from his metal baseball bat. FIRST APPEARANCE: Home Sweet Home |
|
Fiamma Nera Goon 2
The very last boss of the game. Could this be a relative to Colt from Opera House? Use the same tactics as you did with Colt to kill him quickly so that Lara can go for a cup of tea to settle her nerves. FIRST APPEARANCE: Home Sweet Home |